Table of Contents
1. Link to Post
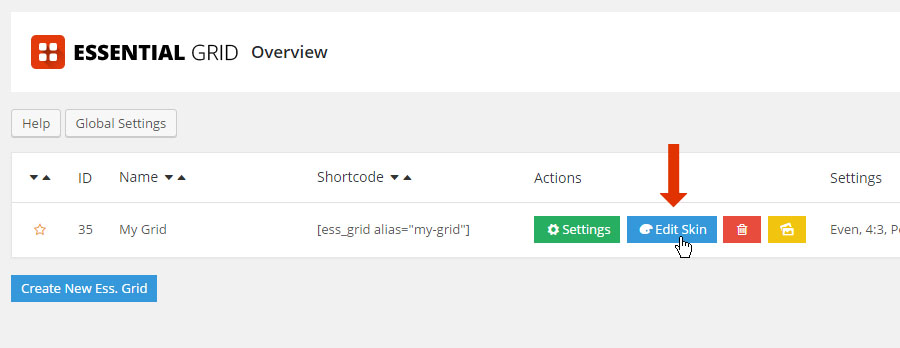
From the plugin’s main admin page, choose “Edit Skin”.

Next, select or add an element from the “Item Layout”, and then apply the settings shown in the following screenshot.

2. Link to Custom URL
From the Meta Data Handling Page, select “Add New Meta”.

Give the new Custom Meta a “Name” and a “Handle”, and then choose “Add Meta”.

Next, from the plugin’s main admin page, choose “Edit Skin”.

Next, select or add an element from the “Item Layout”, and then apply the settings shown in the following screenshot.

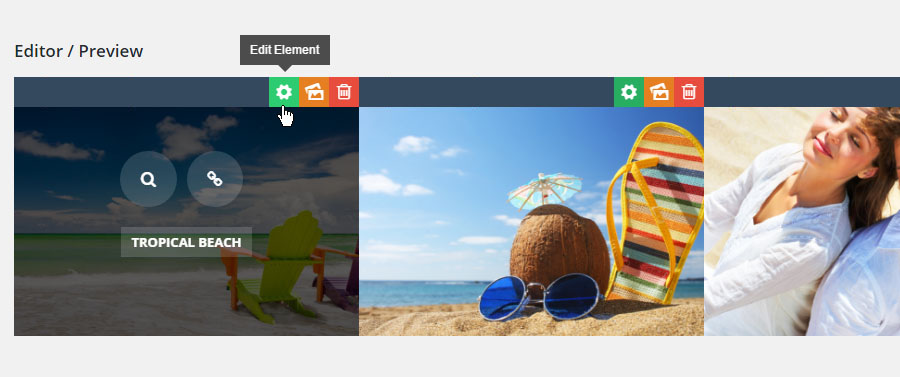
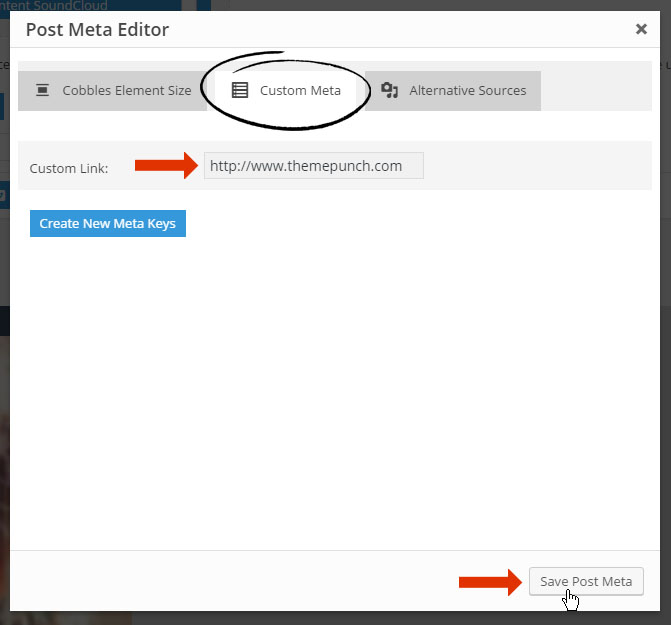
Finally, from your grid’s admin preview, select “Edit Element”, and add a custom link for the item.

Post-based Grid Item meta location

Custom Grid Item meta location

Quick Tip
Custom Meta for Post-based grids can also be accessed in the post’s Essential Grid Custom Settings.
3. Global Links
What is a Global Link?
A single link added to an element in the grid’s skin, which is then applied globally to all of the items in your grid.
From the plugin’s main admin page, choose “Edit Skin”.

Next, select or add an element from the “Item Layout”, and then apply the settings shown in the following screenshot.

4. Link Entire Grid Item
From the plugin’s main admin page, choose “Edit Skin”.

Next, remove any previous hyperlinks from all Layer elements.

Finally, apply the settings shown in the following screenshot.
Quick Tip #1
Always apply the link to the “Cover”, and make sure its “Cover Type” is set to “Full” as shown in this screenshot.


