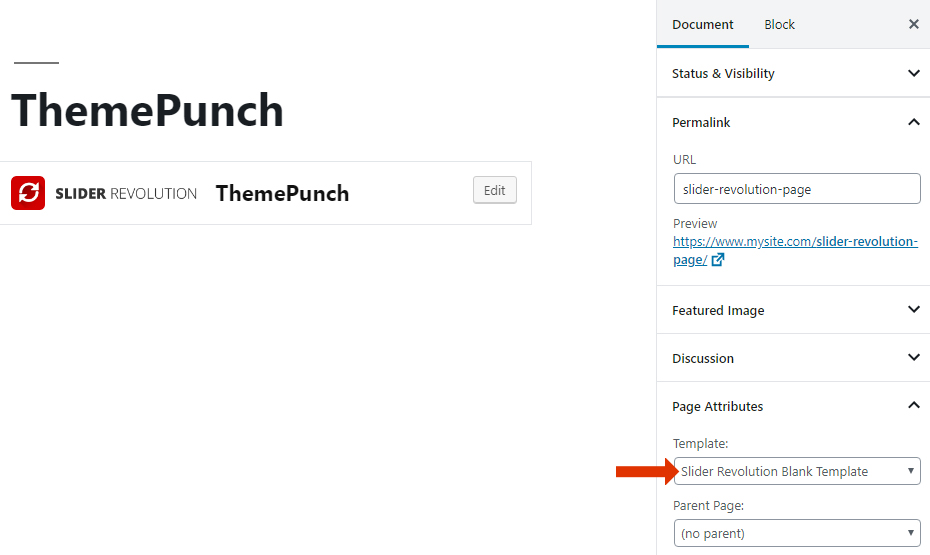
Note: The Slider Revolution Blank Template option will only be available when the Slider Revolution plugin is activated.
Step 1:
Create and insert a slider into a page using the “Slider Revolution Blank Template” page template.

Step 2:
Create a Post Based Grid and in grid Media Source, select “iFrame Markup”
In the Item Media Source Order, drag the “iFrame Markup” above the “Featured Image”.

Step 3:
Create a Post and insert an iFrame Markup into the post’s Essential Grid Custom Settings
In the “Alternative Sources” tab, insert the URL of the page you created in Step 1 into the iFrame Markup.
<iframe src="https://www.mysite.com/slider-revolution-page” ></iframe> 
Step 4:
Download the “Washington” Grid Skin from the Grid Template Library
Duplicate and rename the grid skin in the Item Skin Editor


Edit and remove all layers from the duplicated grid skin.

In the “Layout Composition” > “Layouts” Tab, set the “Content” to “Hidden”.

Step 5:
Edit the Post Based Grid that you’ve created on Step 2
Edit the “Post Meta” of the Post that you’ve created in Step 3 and choose the duplicated skin.

Step 6:
Apply the custom CSS code below into the grid skin.
/* Replace "themepunch" with the name of your grid skin*/
.eg-themepunch-wrapper .esg-entry-media {
	height: 100%;
	padding-bottom:0px!important;
}
.eg-themepunch-wrapper .esg-media-poster {
	display:none!important;
}
Output


